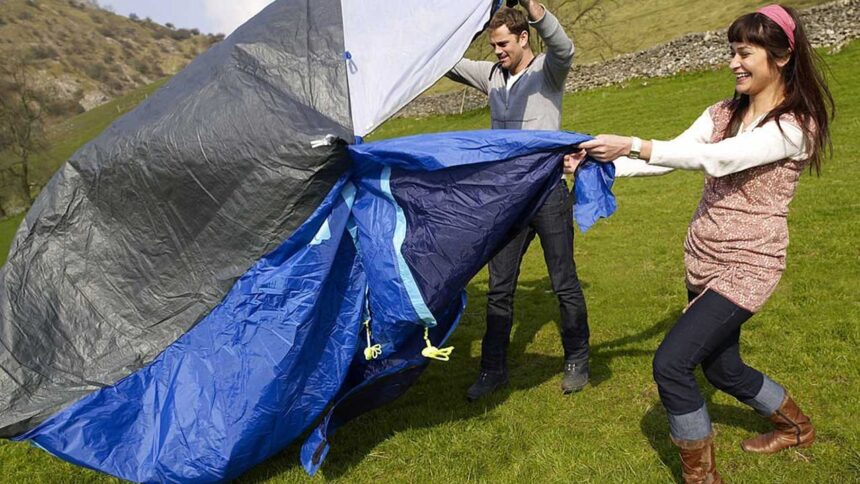
A tarp or canvas will allow you to make different models of shelters to protect yourself from the weather simply by learning the techniques below.
What do you need to be able to make a shelter with a tarp?
To be able to make shelters with a tarp, you need to have other elements in addition to the tarp:
One or two trees anchor the main rope that will support the shelter. They can also be replaced by stakes collected on-site or trekking poles.
Several meters of paracord rope. At least 5 or 6 meters for the main anchor and maybe more depending on the type of shelter; for example, from 2 to 4 lines of 3 or 3.5 meters.
Pegs to fix the ropes or the ends of the canvas to the ground. You can make the pegs yourself with wooden stakes if necessary.
Knowledge of some basic knots will help you tie the tarp more safely and quickly. These are turnbuckle, clove hitch, quick escape knot, prusik, lark, and flat knot.
Models of shelters with a tarp
There are many configurations to set up a bivouac with a tarp. Even if you like it, you might develop your system. I have chosen these because they are simple and form the basis for getting started in the tarp world.
A-Frame Tarp Shelters
It is one of the easiest and most well-known models. It imitates the shape of a Canadian-type tent… although since they are in disuse, you may not know what I mean if you are very young. This shelter provides good protection against rain and is appropriate in hot places.
You will need to find two trees one space apart greater than the size of your tarp. For example, if it is 3×3, you will need at least 4 meters of separation between the trees to enter and exit your shelter comfortably.
There are variations of this shelter: You can replace the trees with stakes or trekking poles, although in this case, the entrance to the top will not be so comfortable.
You can also make an A-shaped shelter with soil. In this case, the height of the passenger compartment is reduced. In my opinion, a rectangular tarpaulin is more practical for this type of shelter. For example, 4×3 meters instead of 3×3.
Tarp shelters to protect a hammock
In this case, finding two appropriate trees becomes essential. It is similar to the A-shaped shelter; it is located above the hammock and does not reach the ground. Ideally, you should be able to stand under it.
There are two configurations for this shelter. You can do this by folding the tarp down the center of two opposite sides, giving you a rectangle on each side of the rope. Or you can fold the tarp from corner to corner, giving you a triangle on each rope side.
Diamond shelter
For this shelter, we will need a tree where we will anchor the end of a rope; the other end will be fixed to the ground. One of the tarp’s corners will also arrive at the environment at the same point as the rope. The opposite corner of the tarp will slide on the string toward the tree we attach to. We will tighten the other two vertices, forming a kind of “wings,” and anchoring them to the ground. Like this, we will divide the tarp in half, creating two triangles.
This type of shelter offers excellent protection against the wind if well-oriented. And it even allows you to fire at the front. Of course, with the risk of piercing the tarp if it is very thin.
Cave shelter
This type of shelter is made similarly to the previous one, but it is lower, and the remaining canvas is folded inwards and used as a floor.
Instead of using the line that joins two opposite corners of the tarp as the center of the gable roof and forming two triangles, in this case, we will divide the tarp in half from the centers of two opposite sides, creating two rectangles (as if we were folding a sheet ). In a 3×3 tarp, we will have approximately 2 meters of tarp soil towards the bottom of the shelter.
As in the photo, you can drop a rope from a tree to the ground or use a stake or trekking pole to secure a solid entrance.
Shelter in the form of a shed
This shelter is very simple and has many variations. The simplest form is a small sloping rectangular tarp, which can be improvised from an industrial garbage bag.
Suppose your challenge is experimenting with minimalist equipment or as light as possible. In that case, you can find small and lightweight tarps, such as the DD SuperLight Tarp S (see on Amazon), 1.5 x 2.8 meters, that are appropriate for this type of shelter.
A variation on this shelter is to incorporate a gabled roof into it. You can do it with the help of two stakes or by tightening a rope from each corner.
Another variation is to add a gabled roof and floor. For this model, a rectangular canvas, for example, 4×3 meters, is best suited, which will provide more space.
The roof must have a sufficient slope so that it does not become trapped in water in the event of rain.


